
Once your Study is created, the next logical action is to adjust its parameters.
Here is how to proceed.

Edit your Study settings
On the Study Portal, go to your Studies page, and click the cog icon of the Study that you want to edit.

This will open the Study settings page, which is composed of 5 sections:
- Product
- Vital Parameters
- Raw Data
- App Dashboard
- App Tabs
Let’s go through each one of them.

1. Select your product
First, select the CardioMood model that applies to your Study.

2. Adjust your Vital Parameters
Then, you can disable or enable the parameters that you want to monitor on your subjects with the CardioMood.
When enabling a Vital Parameter, you may have the choice between different monitoring rates and time periods.
1/30 minutes
1/min
1/10sec
1/sec
every 30 minutes
once per minute
every 10 seconds
once per second
Continuous
the Vital Parameter is monitored all day long, regardless of the user’s activity
Bedtime-Risetime
the Vital Parameter is monitored only during Sleep time, based on the bed time and rise time configured by the user in the CardioMood app

3. Enable Raw Data
If the output metrics provided by the CardioMood are not enough for you, or you want to use some algorithms of your own, you can enable the Raw Data to have access to the data coming directly from the CardioMood’s sensors.
| ACC | accelerometer sensor |
| PPGG | PPG Green sensor |
| PPG G/R/Ir | PPG Green, Red and Infra red sensor |
| BioZ | skin conductance sensor |
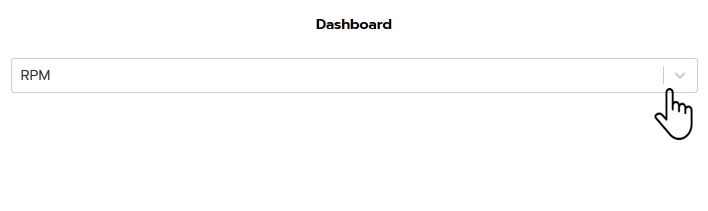
4. Choose your app dashboard
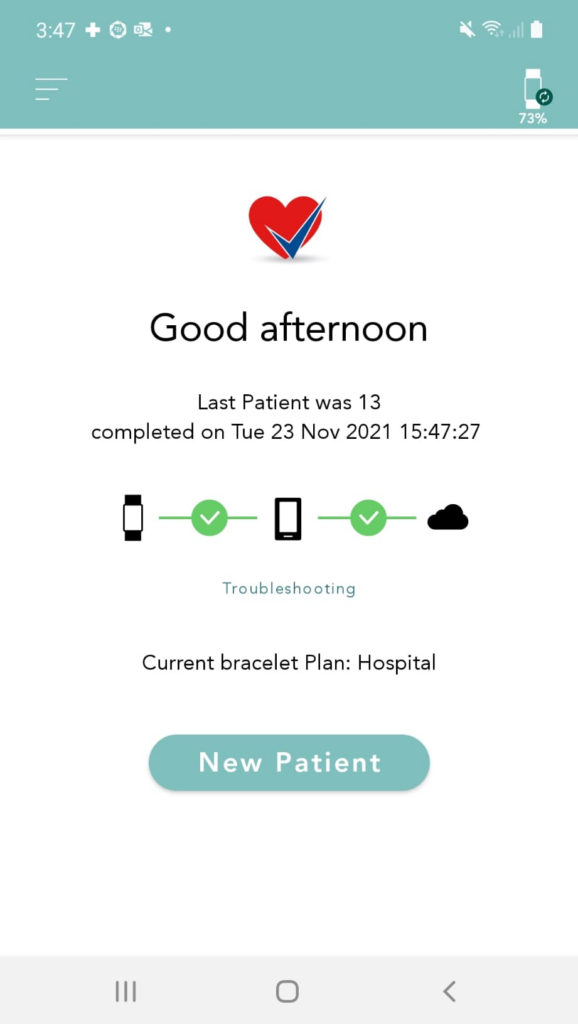
Then, you can select one of the predefined CardioMood app Dashboards.
The default one is called RPM which stands for Remote Patient Monitoring and provides continuous monitoring.
The Start/Stop dashboard is ideal for one-shot measurements.

5. Choose your app tabs
Finally, you can customize the number and type of tabs than you want to see in the CardioMood app, in addition to the main dashboard.