Wrist selection
It is recommended to wear your CardioMood on the wrist opposite to the hand you use the most. If you are
- Right-handed: preferably wear your CardioMood on the left wrist
- Left-handed: preferably wear your CardioMood on the right wrist
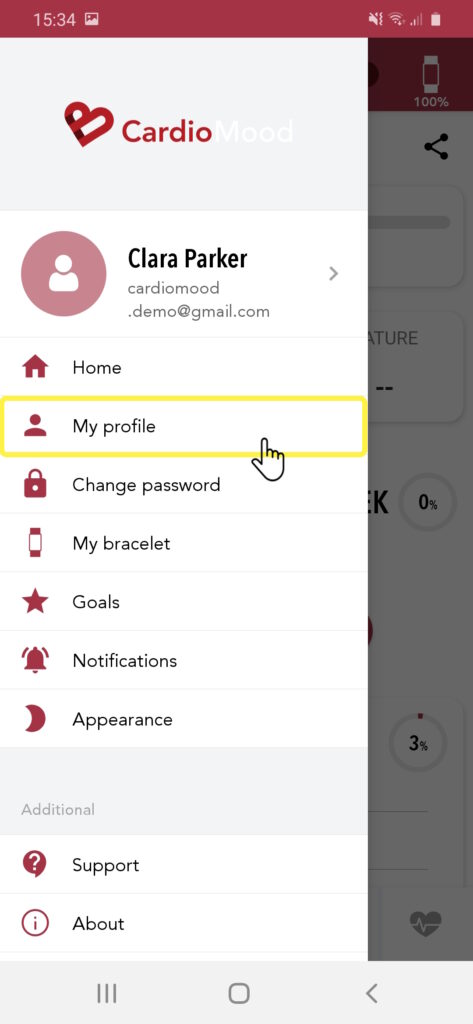
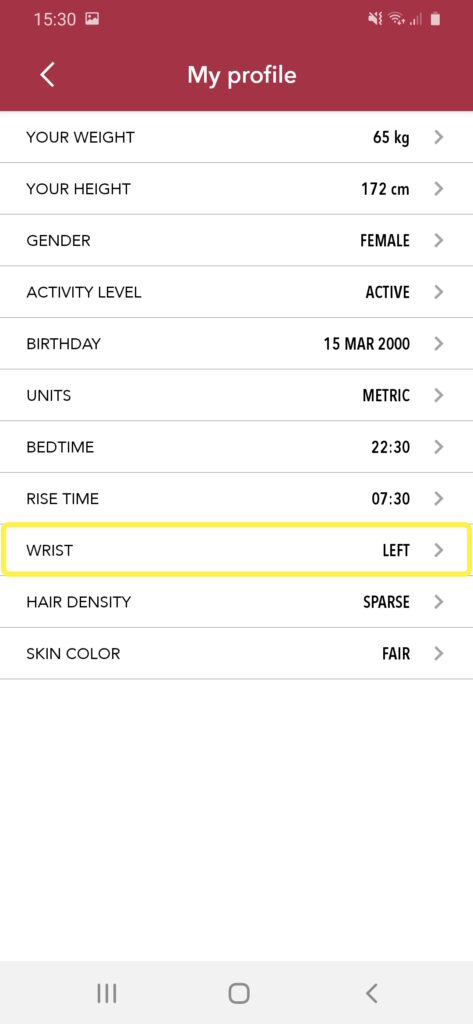
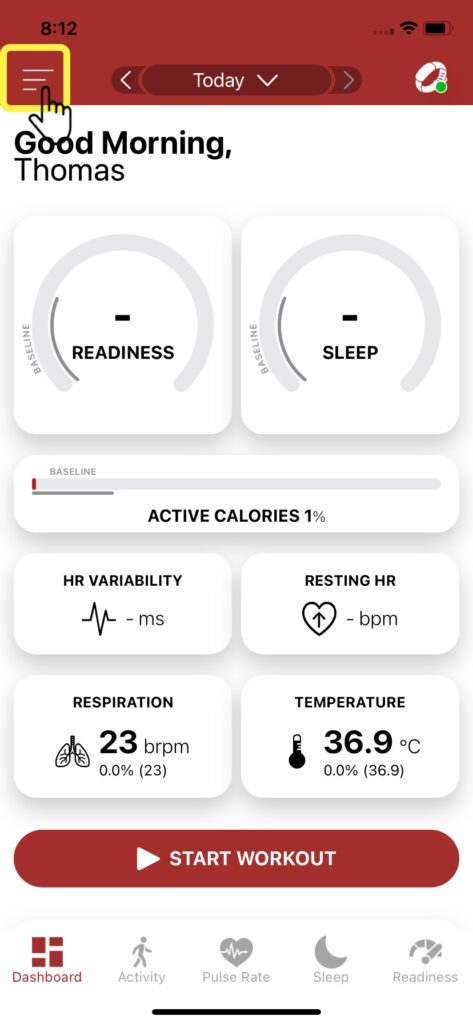
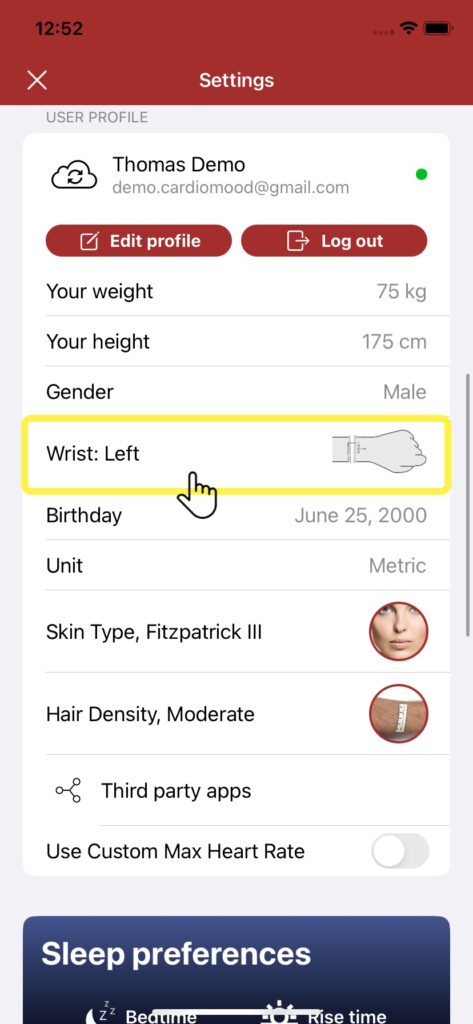
Whatever wrist you choose, set it up correctly in the CardioMood app user profile!
CardioMood position
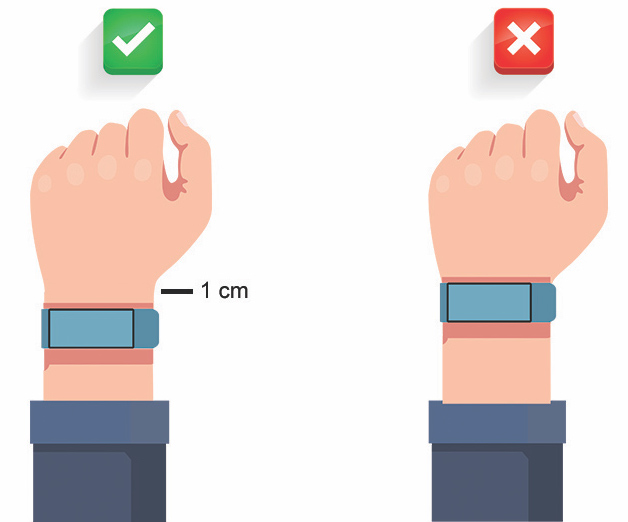
The CardioMood should be placed about 1 inch above the bone of your wrist, as illustrated below.
CardioMood orientation
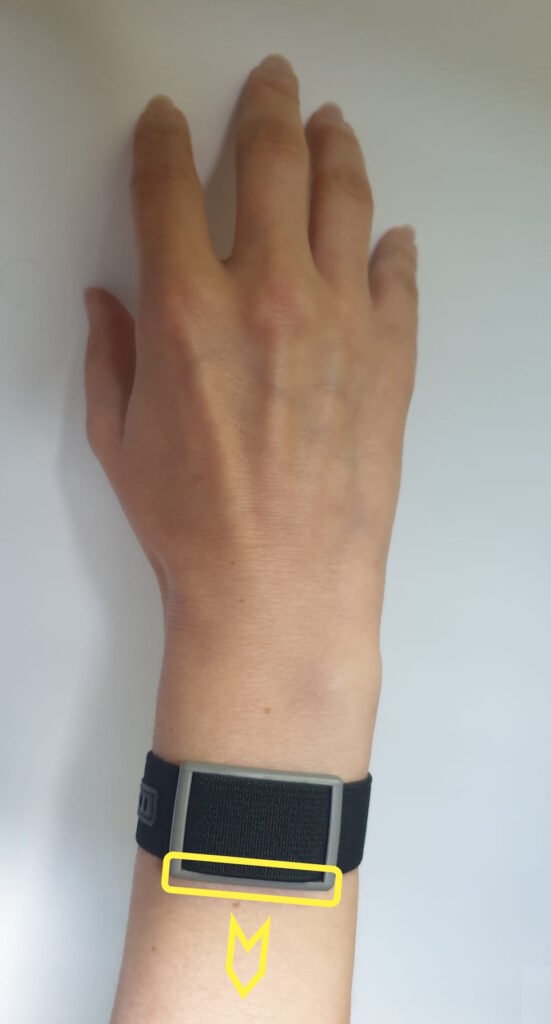
First, look for the side of your CardioMood which has either a pusher (287-1B) or LEDs (287-2B) as shown below.
Now, think of your CardioMood as a regular watch, where the crown has been replaced with a pusher or LEDs. Then, you naturally wears it like this.
Strap tightness
Adjust the strap of your CardioMood so that it is snug but not too tight.
This ensures that the bracelet does not move around as much when you are using your hands, but is still comfortable to wear.
The sensing side of the pod should be placed in direct contact with the skin, on the top side of the wrist. The light coming from the sensor should not be visible between your skin and the CardioMood.
Skin type and hair density
Please set up your skin type and hair density properly in user profile section of the CardioMood app. Those parameters are important to improve the accuracy of the output metrics.
Wearing optimization helper in the app for CardioMood 287-2B
The CardioMood app help you check if the CardioMood 287-2B is well positioned on your wrist and if the strap is tight enough.
Here is how to use the Wearing Optimization assistant.
Android

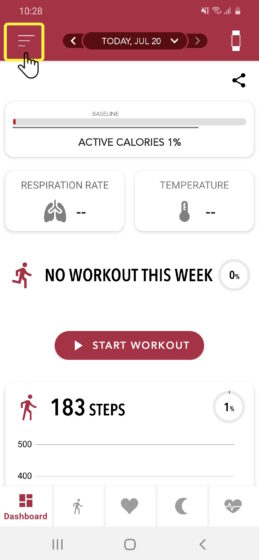
Start the Wearing Optimization assistant at the bottom of the page.
Note that your CardioMood must be paired to your mobile device before starting.
Step 3

The next stage consists in checking the orientation of your CardioMood
Read the instructions and press Start when you are ready
Step 8

If you get an error message, untie your strap, turn your CardioMood of half a rotation on your wrist and retry. Please refer to the CardioMood orientation documentation for help
Step 9

Congratulations! Your CardioMood orientation is correct.
Click Next to move to the next stage.
Step 10

Check your CardioMood tightness and position on your wrist according to the instructions.
Press Next to continue to the last stage.
Step 11

You can now perform a tightness test.
Follow the instructions and press Start when you are ready.
Step 12
iOS

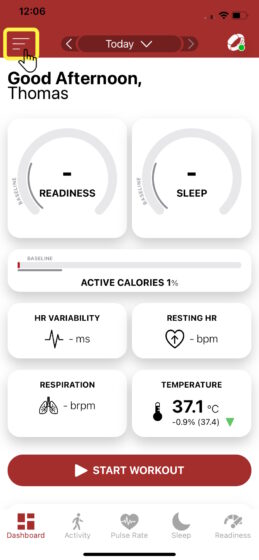
Start the Wearing Optimization assistant.
Note that your CardioMood must be paired to your mobile device before starting.
Step 2

The next stage consists in checking the orientation of your CardioMood
Read the instructions and press Start when you are ready
Step 7

If you get an error message, untie your strap, turn your CardioMood of half a rotation on your wrist and retry. Please refer to the CardioMood orientation documentation for help
Step 8

Congratulations! Your CardioMood orientation is correct.
Click Next to move to the next stage.
Step 9

Check your CardioMood tightness and position on your wrist according to the instructions.
Press Next to continue to the last stage.
Step 10

